
Most knitters use Ravelry to search for patterns.
But the people who really get value from it? They track their projects.
At first, project pages can seem unnecessary. You might think:
“I’ll remember what yarn I used.”
“I don’t need to document this.”
You will not remember. I can’t emphasize this enough.
And six months from now, when you want to remake a sweater, fix a fit issue, or remember which needle size actually worked, you’ll wish you had tracked it.
That’s why your Ravelry project page matters.
It becomes your personal knitting notebook, accessible from anywhere as long as you have your phone.
Why Project Tracking Matters
A project page is more than a gallery photo.
It helps you:
- Remember modifications
- Track yarn usage
- Record needle sizes
- Compare finished projects
- Learn from mistakes
- Improve future knits
Over time, this becomes incredibly valuable.
Especially once you start:
- Knitting garments
- Repeating favorite patterns
- Substituting yarn
- Designing your own modifications
The knitters who improve fastest are usually the ones who document what they’re doing.
Step 1: Create Your First Project
Start by opening the pattern page for the project you’re making.
Then:
- Click “Cast On”
- Select “Create a Project”
If you didn’t use a Ravelry pattern, you can still create a project manually.
Don’t overthink it. Your first project page does not need to be perfect.
Step 2: Add the Basic Information
At minimum, include:
Project Name
This can be:
- The original pattern name
- Or your own custom project title
Example:
- “Weekender Sweater”
- “Blue Autumn Cardigan”
Pattern Information
Link the pattern whenever possible.
This automatically connects your project to:
- Other knitters
- Pattern statistics
- Shared notes and photos
Start Date
Even an approximate date helps later.
You’ll eventually enjoy looking back and seeing:
- Seasonal knitting habits
- How long projects took
- Your progress over time
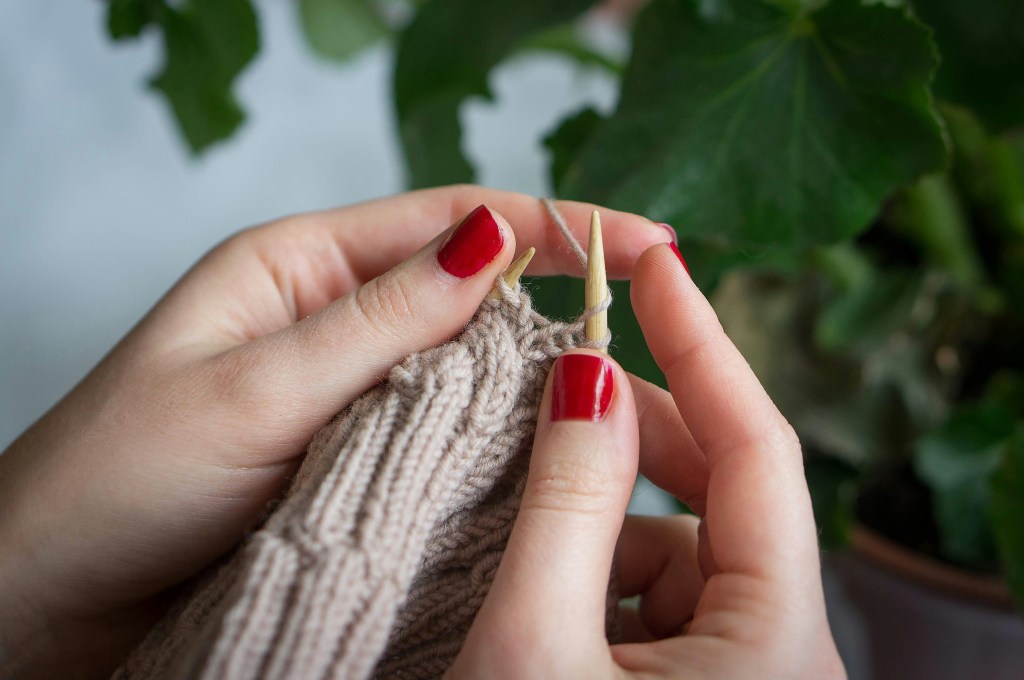
Needle Size
This matters more than most beginners realize.
Different needle sizes can completely change:
- Fabric drape
- Fit
- Gauge
Record exactly what you used—not just what the pattern recommended.
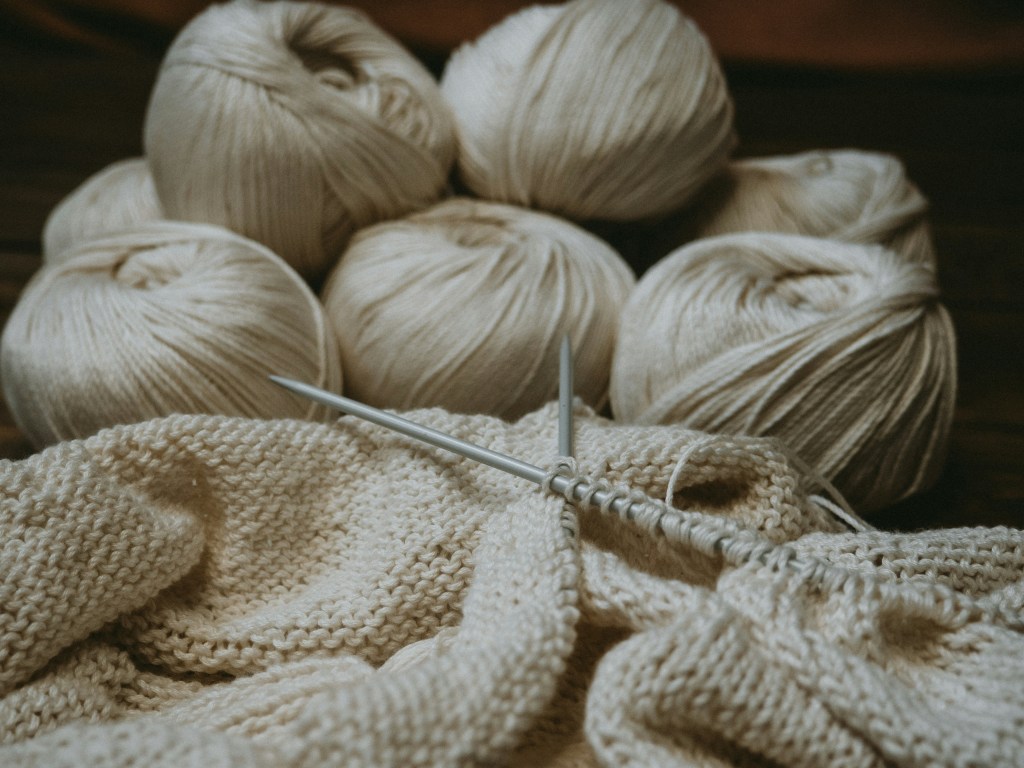
Yarn Information
Add:
- Yarn brand
- Colorway
- Quantity used
This becomes incredibly useful later when:
- Reordering yarn
- Matching dye lots
- Repeating projects
- Evaluating yarn performance
Step 3: Link Yarn from Your Stash
One of the best Ravelry features is connecting projects directly to your stash.
If your yarn is already added to your stash:
- Click “Use Stash Yarn”
- Select the yarn
- Enter how much you used
This automatically updates your stash totals.
Over time, this helps you:
- Avoid overbuying
- Use yarn intentionally
- See what fibers and brands you actually enjoy knitting with
And honestly? Most knitters underestimate how much yarn they own until they start tracking it.
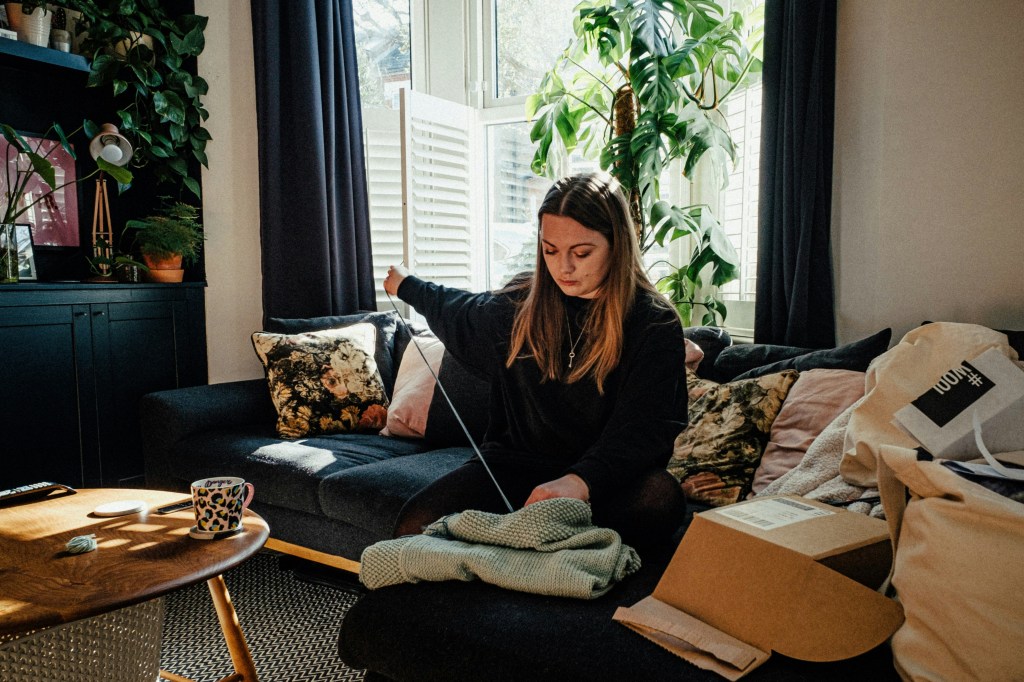
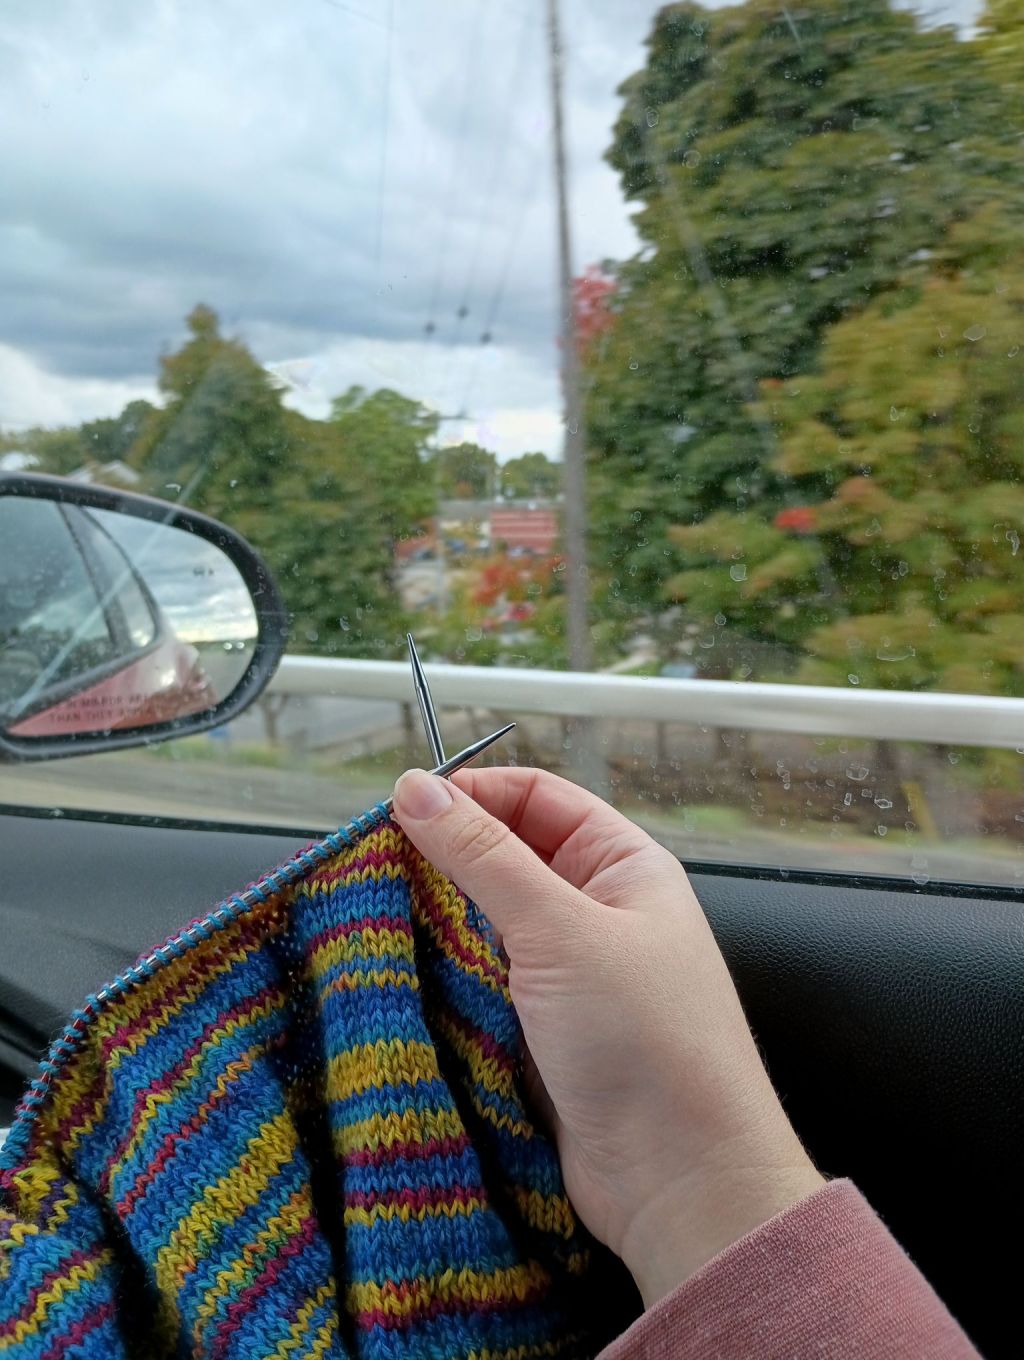
Step 4: Upload Photos (Even Imperfect Ones)
A lot of people avoid uploading photos because they think they need:
- Perfect lighting
- Styled flat lays
- Professional photography
You don’t.
Your photos are documentation first.
Upload:
- Progress shots
- Fit photos
- Close-up texture photos
- Finished object photos
These become incredibly helpful later when comparing:
- Yarn behavior
- Gauge
- Construction choices
And the knitting community genuinely benefits from seeing realistic versions of patterns.
Step 5: Track Modifications
This is where project pages become powerful.
Always record:
- Length adjustments
- Sleeve changes
- Needle size changes
- Cast-on modifications
- Yarn substitutions
Because here’s what happens:
You’ll eventually knit something and think:
“Wait… what did I do differently that time?”
Your notes answer that question.
Without notes, you’re relying on memory—and memory is unreliable.
Step 6: Add Progress Updates
You don’t need to do this constantly.
But adding occasional updates helps you:
- Stay motivated
- Track milestones
- Reflect on challenges
Examples:
- “Finished body today”
- “Had to restart sleeve gauge”
- “Love this yarn texture so far”
- Or simply adding a photo to show the progress you’ve made
This turns your project page into a story, not just a record.
Step 7: Rate and Review the Pattern
Once finished, consider adding:
- A difficulty rating
- Notes about clarity
- What you liked or disliked
This helps other knitters—and helps future-you remember your experience.
Some patterns look beautiful but are frustrating to knit.
Your notes will remind you which is which.
Why Future-You Will Love This
Right now, project tracking may feel optional.
Later, it becomes one of the most valuable parts of Ravelry.
Because eventually you’ll want to:
- Re-knit a favorite sweater
- Remember which sock heel fit best
- Compare yarn performance
- Track how your skills improved
And your project pages will hold all of that information.
Not in scattered notebooks.
Not in random phone photos.
Not in your memory.
All in one place.
Final Thought
Your first Ravelry project page doesn’t need to be detailed or polished.
It just needs to exist.
Because every project you track teaches you something—and over time, those notes become one of the best knitting resources you have.


Leave a comment